

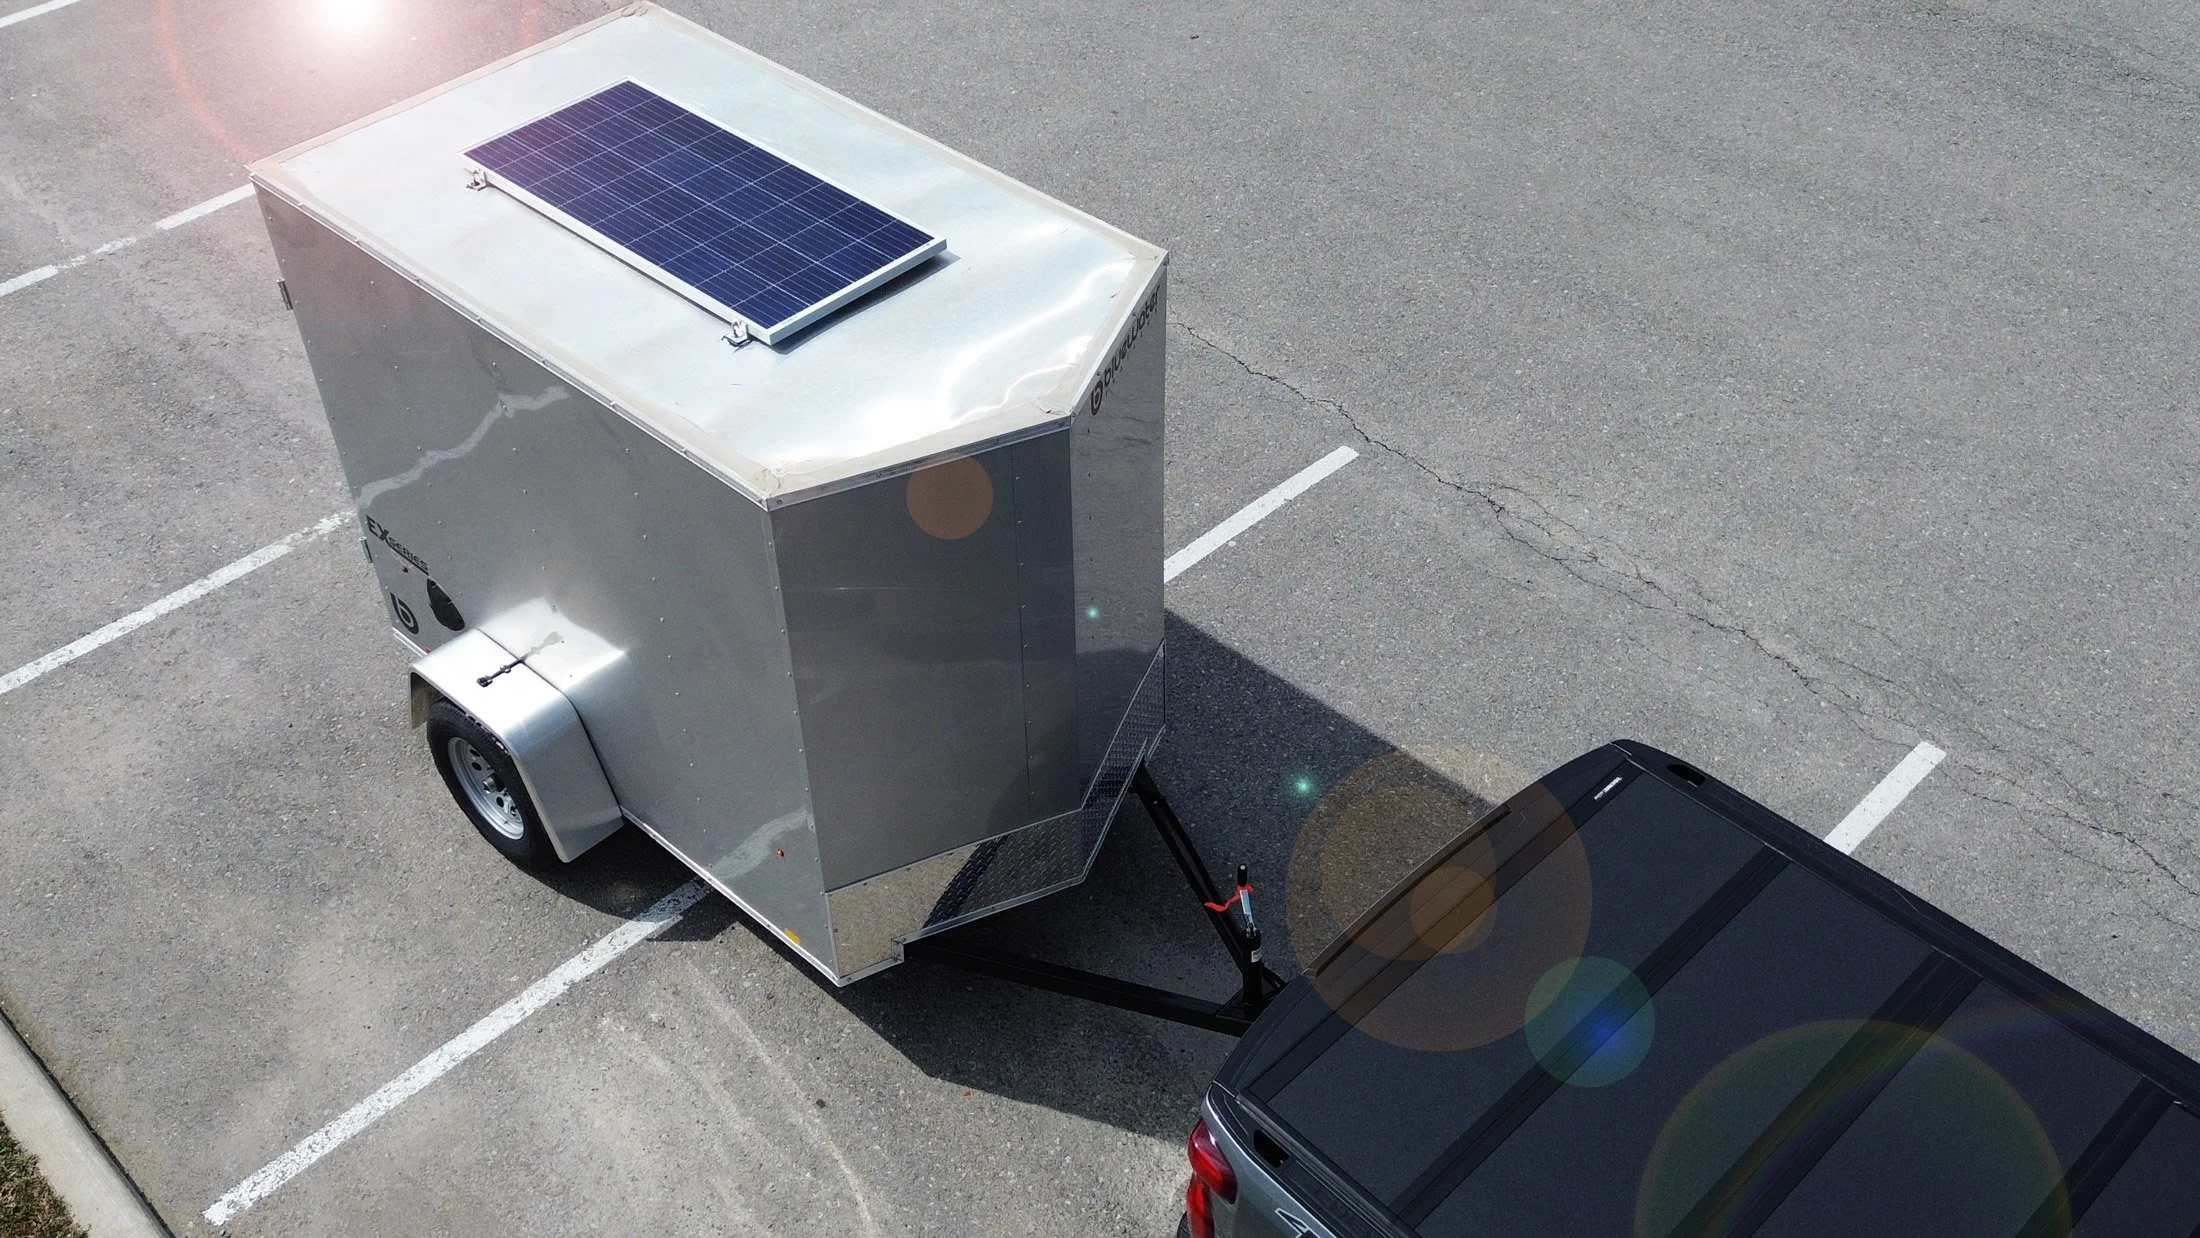
DIY Solar Kits. Expert Support.
DIY Solar Kits. Expert Support.
Featured DIY SOLAR KITS
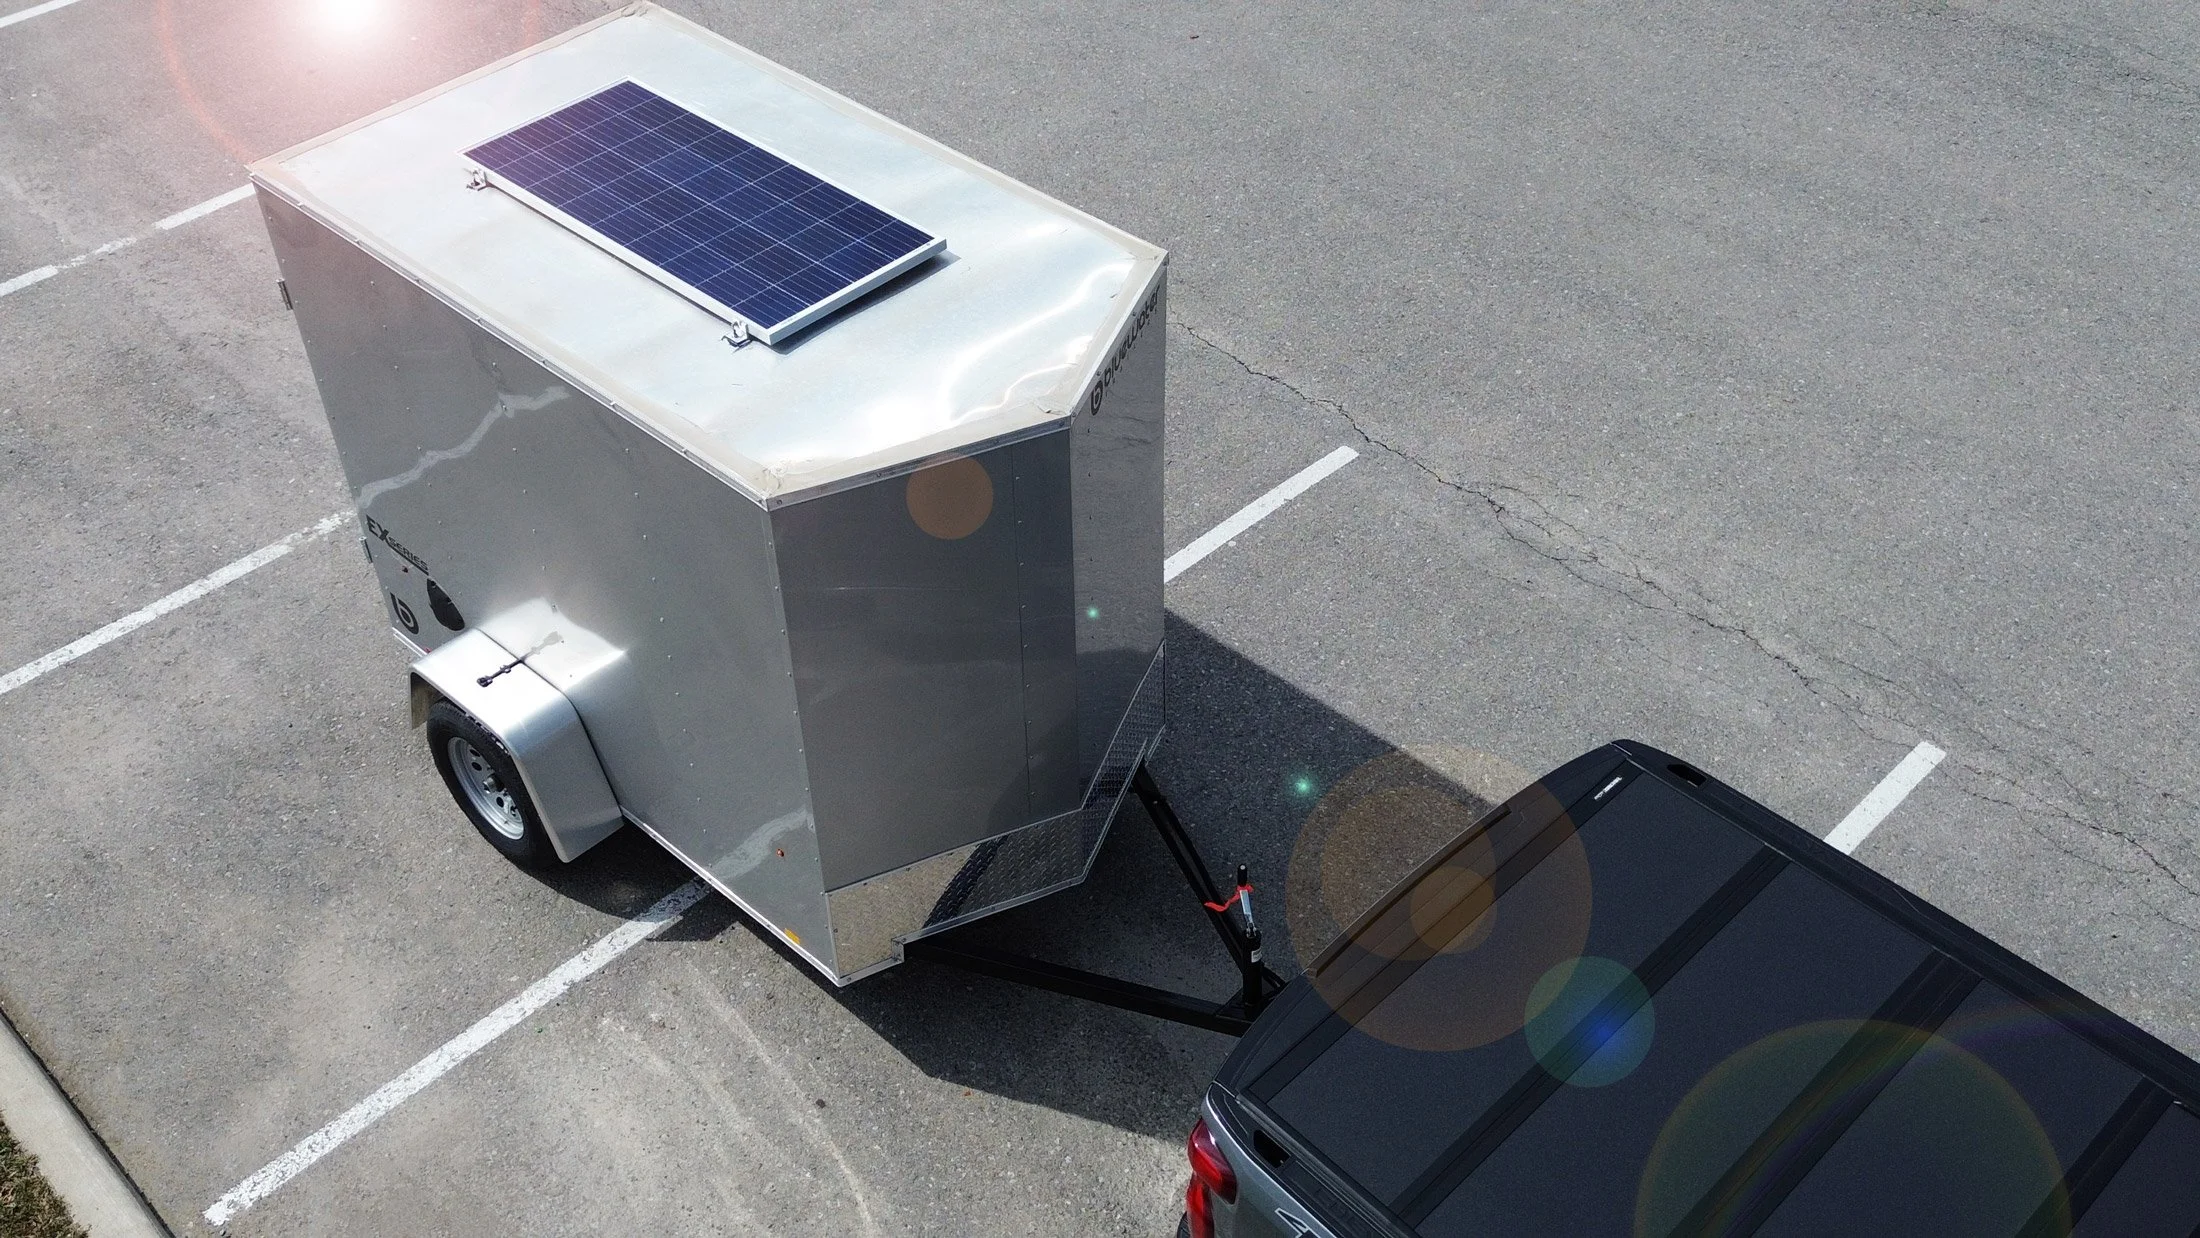
This kit was designed for users who already own a 12V battery. The ISM 160W solar panel is robust and durable and can be mounted or moved around as needed. The Victron 100/30 blue tooth charge controller will provide necessary status information on the state of charge of the battery. The MPPT charge controller will provide a history of charge and discharge usage. It is a powerful tool for understanding how your battery gets used and charged.
This kit is ideal for:
Charging your classic car battery
Charging your boat or RV house batteries
Remote security systems, cameras and lights
It is assumed that you already have a battery, no mounts, breakers or fuses or batteries are included in this kit.
Includes:
160W panel
2 * 20Ft red and Black #10 RPVU 90 #10 wire with MC4 ends
Victron 100/30 MPPT charge controller
2 * 10 ft red and black #10 RPVU 90 #10 Wire, no ends
INSTALLATION INSTRUCTIONS:
Position the solar panel where it will get the most sunlight.
Mount the charge controller near the battery and connect the red wire to the solar positive terminal and black wire to the negative terminal.
Connect the battery to the charge controller wires (red positive, black negative) and plug in the wires from the charge controller to the solar panel.
That’s it! Enjoy a charged-up battery!
Warning* This equipment contains live electricity! Extreme caution should be used when handling the equipment and making connections! All work should be done by a qualified technician or licensed electrician. IES does not claim or warrant that these procedures are safe and or considered code compliant.
KIT 1 TECH SPECS →
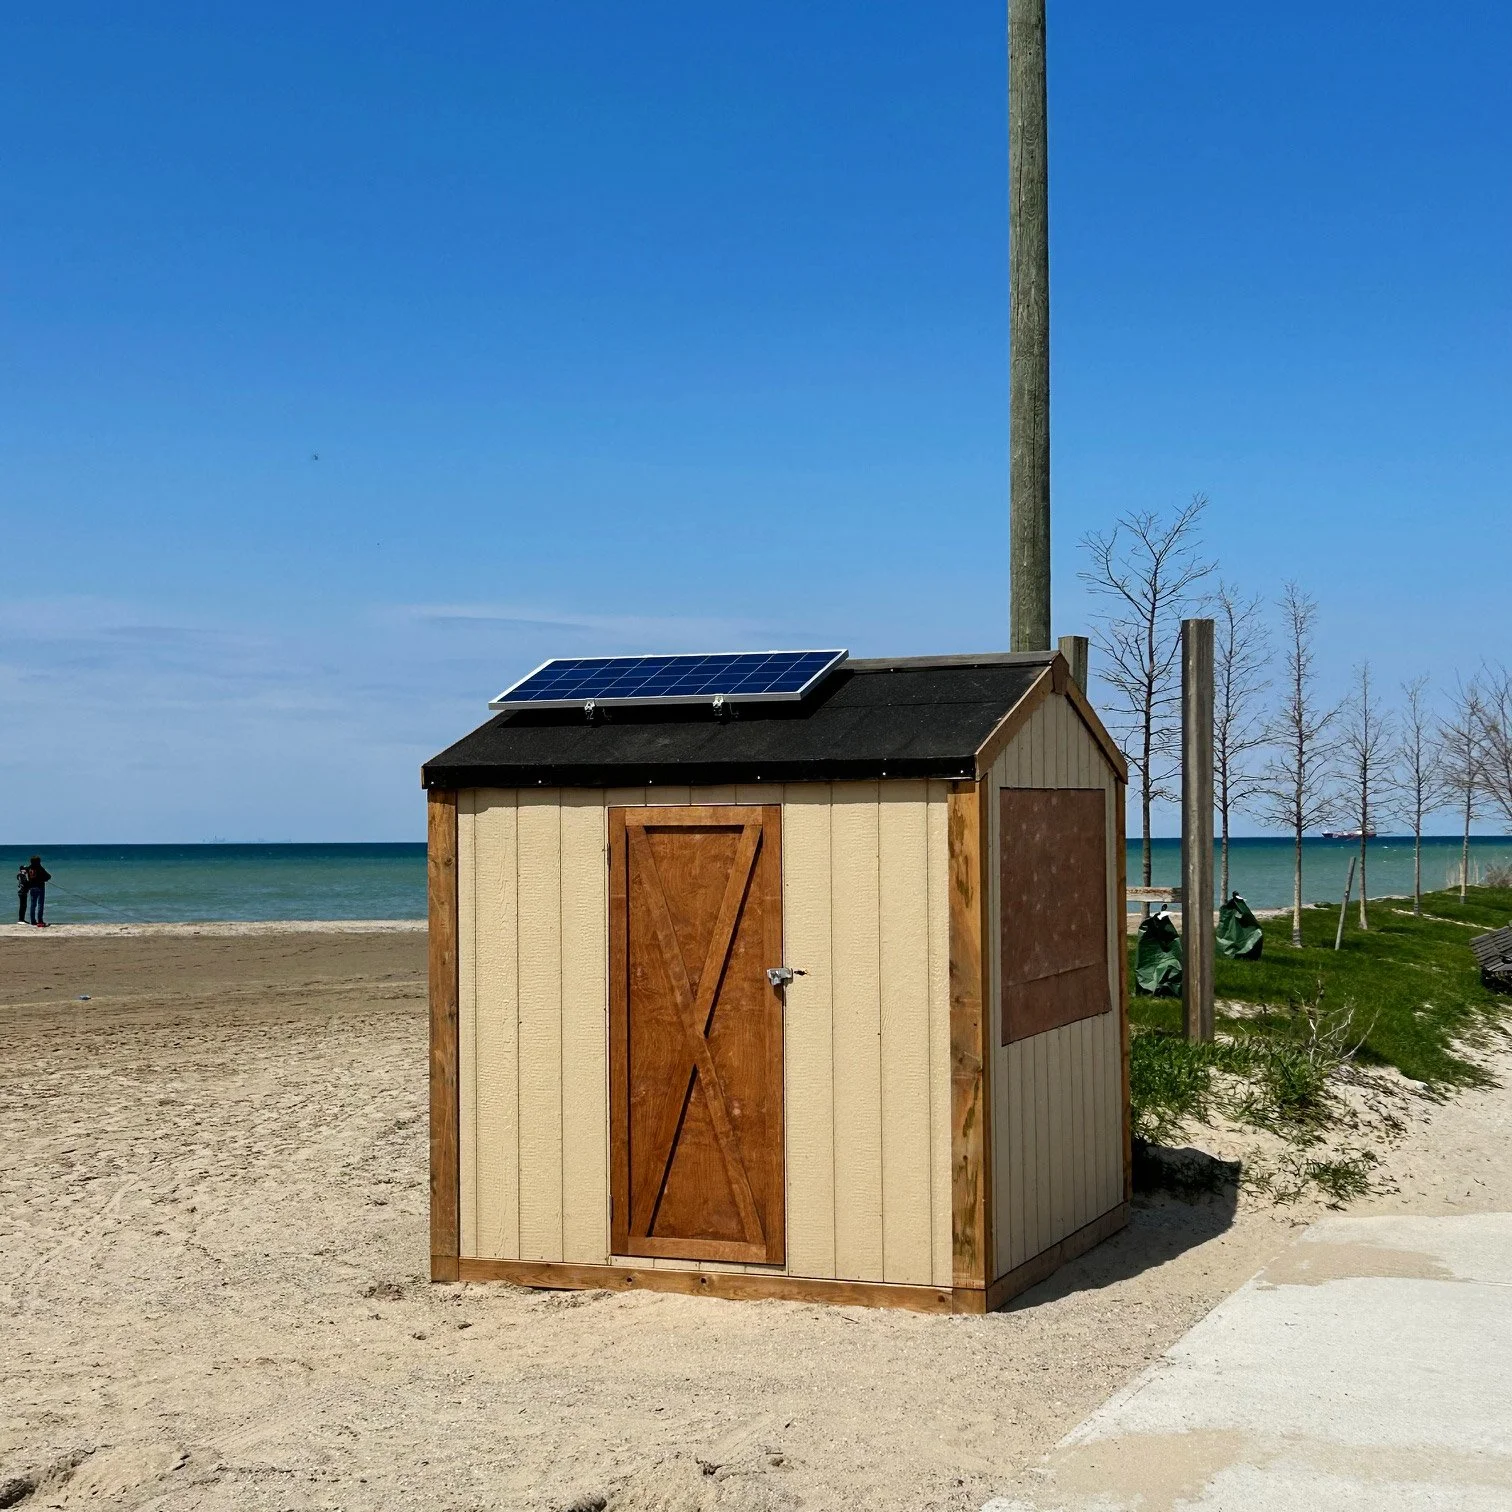
This kit was designed for light 12V usage. The kit can be used at your cottage, boat or RV or camp site to charge and or power the following items:
Cell phones
12V LED lights/lanterns/string lighting
12V fans
12V appliances
Classic car batteries
Boat or RV house batteries
This system does not have an inverter. It is meant to charge your 12V batteries and appliances. The kit comes with permanent mounting, but it can also be stored loose so it can be pulled out and used when needed.
Sometimes campers are in shaded areas; by adding longer cables you can place the solar panel farther away from your site to capture more sunlight.
Includes:
160W solar panel
2 * 20ft RPVU 90 #10 wire, red and black with MC4 Crimped ends.
Midnight breaker box
2 * 15A breakers
Victron 100/30 MPPT charge controller
2 * 10ft RPVU 90 #10 wire, red and black with no ends
1 * stark 125A 12V battery
INSTALL INSTRUCTIONS:
Install the solar panel racking. Mount the panel to the racking.
Mount the breaker box, and the charge controller near the battery
Run the red wires through the breaker box. Both black negative wires can run directly to the charge controller.
Once all connections are made to the charge controller, connect to the battery and the solar panel.
Turn on the battery breaker first, then the solar breaker
Tips and tricks:
Get to know your system before you overload it and drain your batteries.
If you think you will need more power, you will not regret adding a second solar panel.
If you are thinking of adding to your system later, it’s better to upsize your system now and add to it later than trying to add to a smaller system that will have limitations.
Warning* This equipment contains live electricity! Extreme caution should be used when handling the equipment and making connections! All work should be done by a qualified technician or licensed electrician. IES does not claim or warrant that these procedures are safe and or considered code compliant.
KIT 2 TECH SPECS →
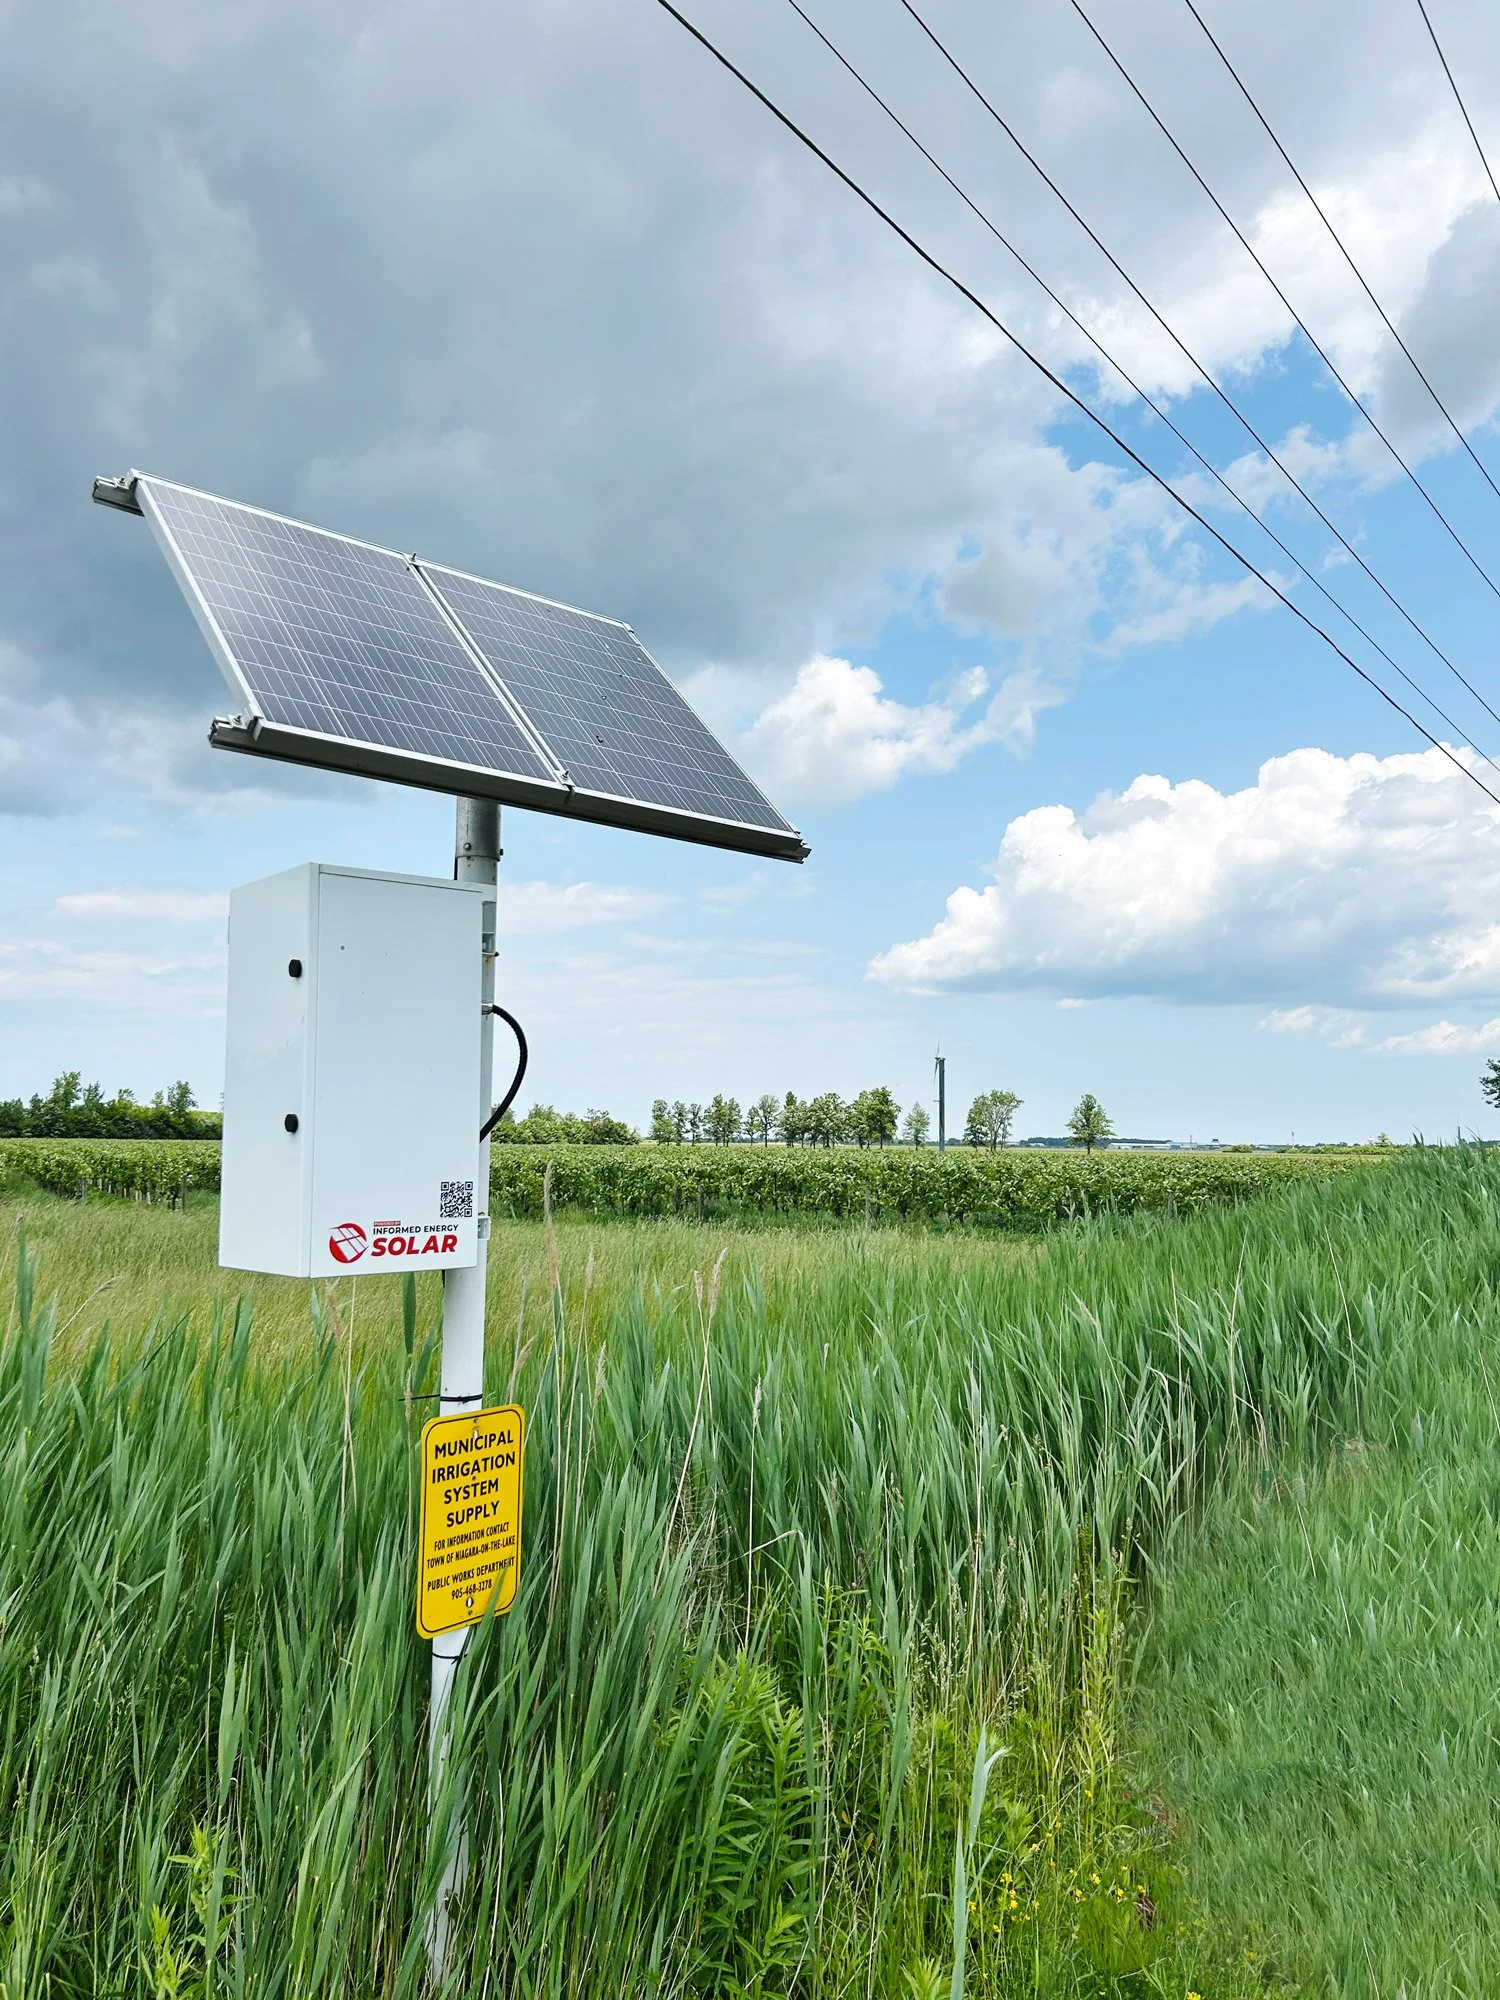
This kit has been designed for 12V loads without 120V AC. The added second panel will provide faster charge times for your battery. If you are running the battery down to 50% routinely then the second panel will help you charge it back up the following day and will give you that extra charging potential on cloudy days.
This was designed for;
All your 12V appliances
Cell phones
12V LED lights/lanterns/string lighting
12V fans
Classic car batteries
Boat or RV house batteries
Remote monitoring stations
This system does not have an inverter. It is meant to charge your 12V batteries and appliances. The kit comes with permanent mounting.
This kit comes with roof mounting, not pole mounting like shown in the images. We can add that as an option if required.
Sometimes campers are in shaded areas; by adding longer cables you can place the solar panel farther away from your site to capture more sunlight.
Includes:
2* 160W solar panel
2 * 20ft RPVU 90 #10 wire, red and black with MC4 Crimped ends.
Midnight breaker box
1 * 15A breaker
1* 30A breaker
Victron 100/30 MPPT charge controller
2 * 10ft RPVU 90 #10 wire, red and black with no ends
1 * stark 125A 12V battery
Mounting/racking
INSTALLATION INSTRUCTIONS:
Install the solar panel racking. Mount the panel to the racking. Connect the panels in series. The positive wire from one panel to the negative wire of the second solar panel.
Mount the breaker box, and the charge controller near the battery.
Connect the red and black wires to the solar panels and run the red wires through the breaker box. The black negative wires from the solar panel and the battery can run directly to the charge controller.
Once all connections are made to the charge controller, connect to the battery and the solar panel.
Turn on the battery breaker first, then the solar breaker.
Warning* This equipment contains live electricity! Extreme caution should be used when handling the equipment and making connections! All work should be done by a qualified technician or licensed electrician. IES does not claim or warrant that these procedures are safe and or considered code compliant.
KIT 3 TECH SPECS →
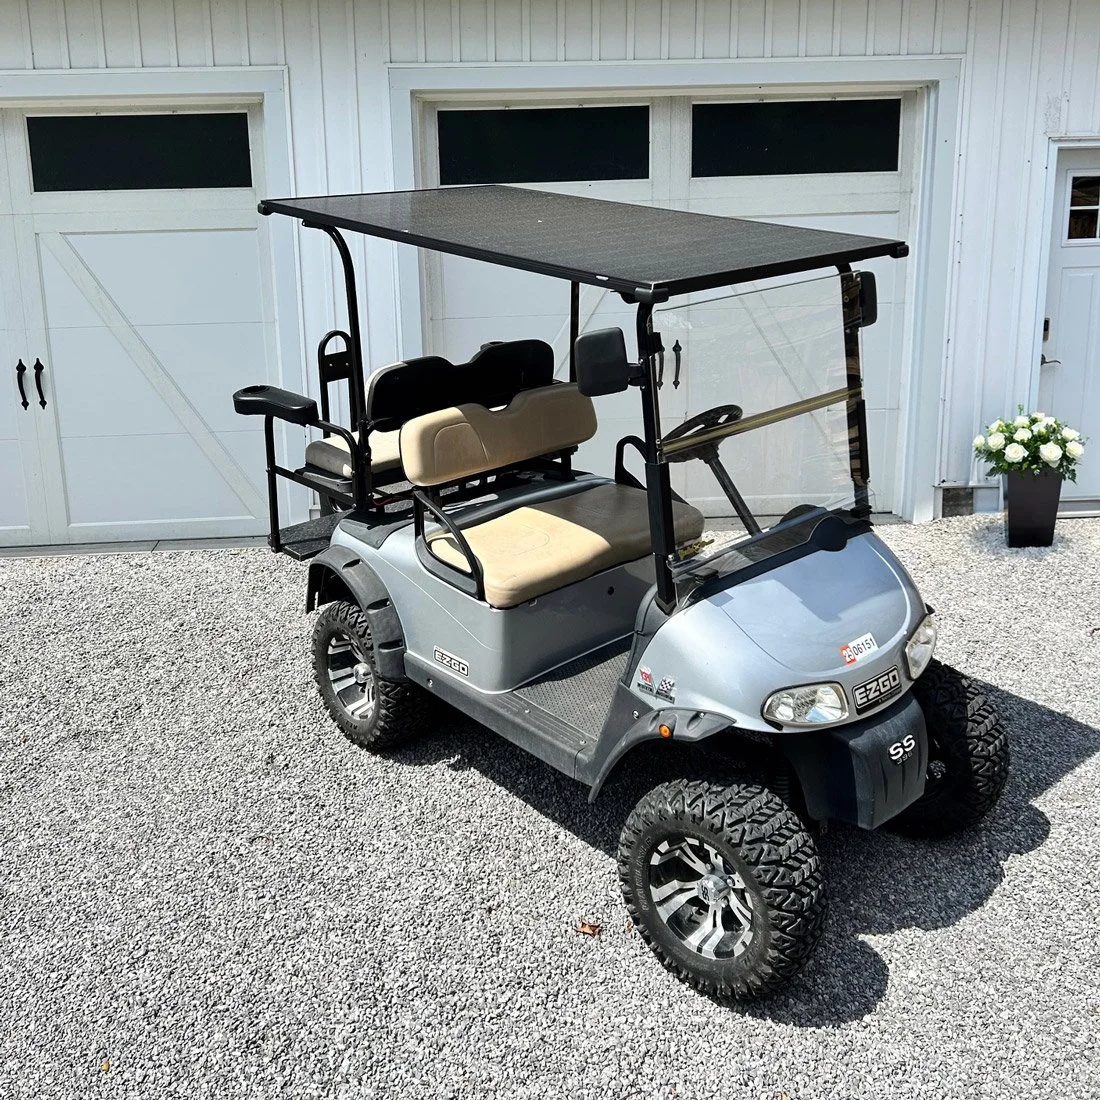
The Golf Cart Kit. 48V Battery Bank
This system is designed specifically for golf carts with 48V battery banks. Typically, 48V battery banks require 2 or 3 (higher voltage) solar panels connected in series, through an MPPT charge controller to charge a 48V battery bank. Golf Carts have limited roof space, and we can only fit 1 large solar panel up there. The Rover Booster is designed to “boost” the voltage of 1 solar panel up to the required voltage so you can properly charge your golf cart. 12 through 36V up to 56->57V for the 48V battery bank.
This was designed for:
48V golf carts
Single solar panel systems that need to charge a 48V battery bank.
Flooded batteries
AGM batteries
Lithium batteries
Usage:
This system can and will charge your golf cart up to 100%. However, this system is meant to add extended range and peace of mind. For carts that are heavily used (think golf clubs or carting communities) charging the cart is a scheduled event to ensure the next day won’t be impacted. This kit provides the cart with an added 450W per hour (in full sun) of charge which will allow the user to do the following things:
Charge phones, speakers or even small DC coolers while at the beach without fear of depilating the batteries
Extending the range of your daily cart activities
Extending the life of your batteries over the long term. (Depleting your batteries down past 50% shortens the life of your batteries. If you can get another year or 2 of battery life this system has more than paid for itself)
Peace of mind if you leave for the week and forget to plug in your cart. It will be fully charged upon your return.
Mounting:
The 500W panel provided can replace the standard golf cart roof completely. A one size fits all mount is not feasible at this stage. Grabbing some hardware and bolting the panel to the existing uprights on the cart seems to be the best solution. Or, you can “float” the panel over the existing roof. Use caution as the corners of the panels would be painful if you hit your head on them. Get some foam pads or “soft corners” that can stick using 3M tape on the corners. You will be glad you did.
Includes:
1 * 500W solar panel
2 * 10ft RPVU 90 #10 wire, red and black with MC4 Crimped ends.
2 ends with o ring terminals from charger to batteries.
Renogy 10A Rover Boost Charge Controller. 12 through 36V -> 48V battery banks
Renogy BT-2 Bluetooth module
Warning* This equipment contains live electricity! Extreme caution should be used when handling the equipment and making connections! All work should be done by a qualified technician or licensed electrician. IES does not claim or warrant that these procedures are safe and or considered code compliant.
Rover Boost Manual →
BT-2 Bluetooth Module →

Who we are
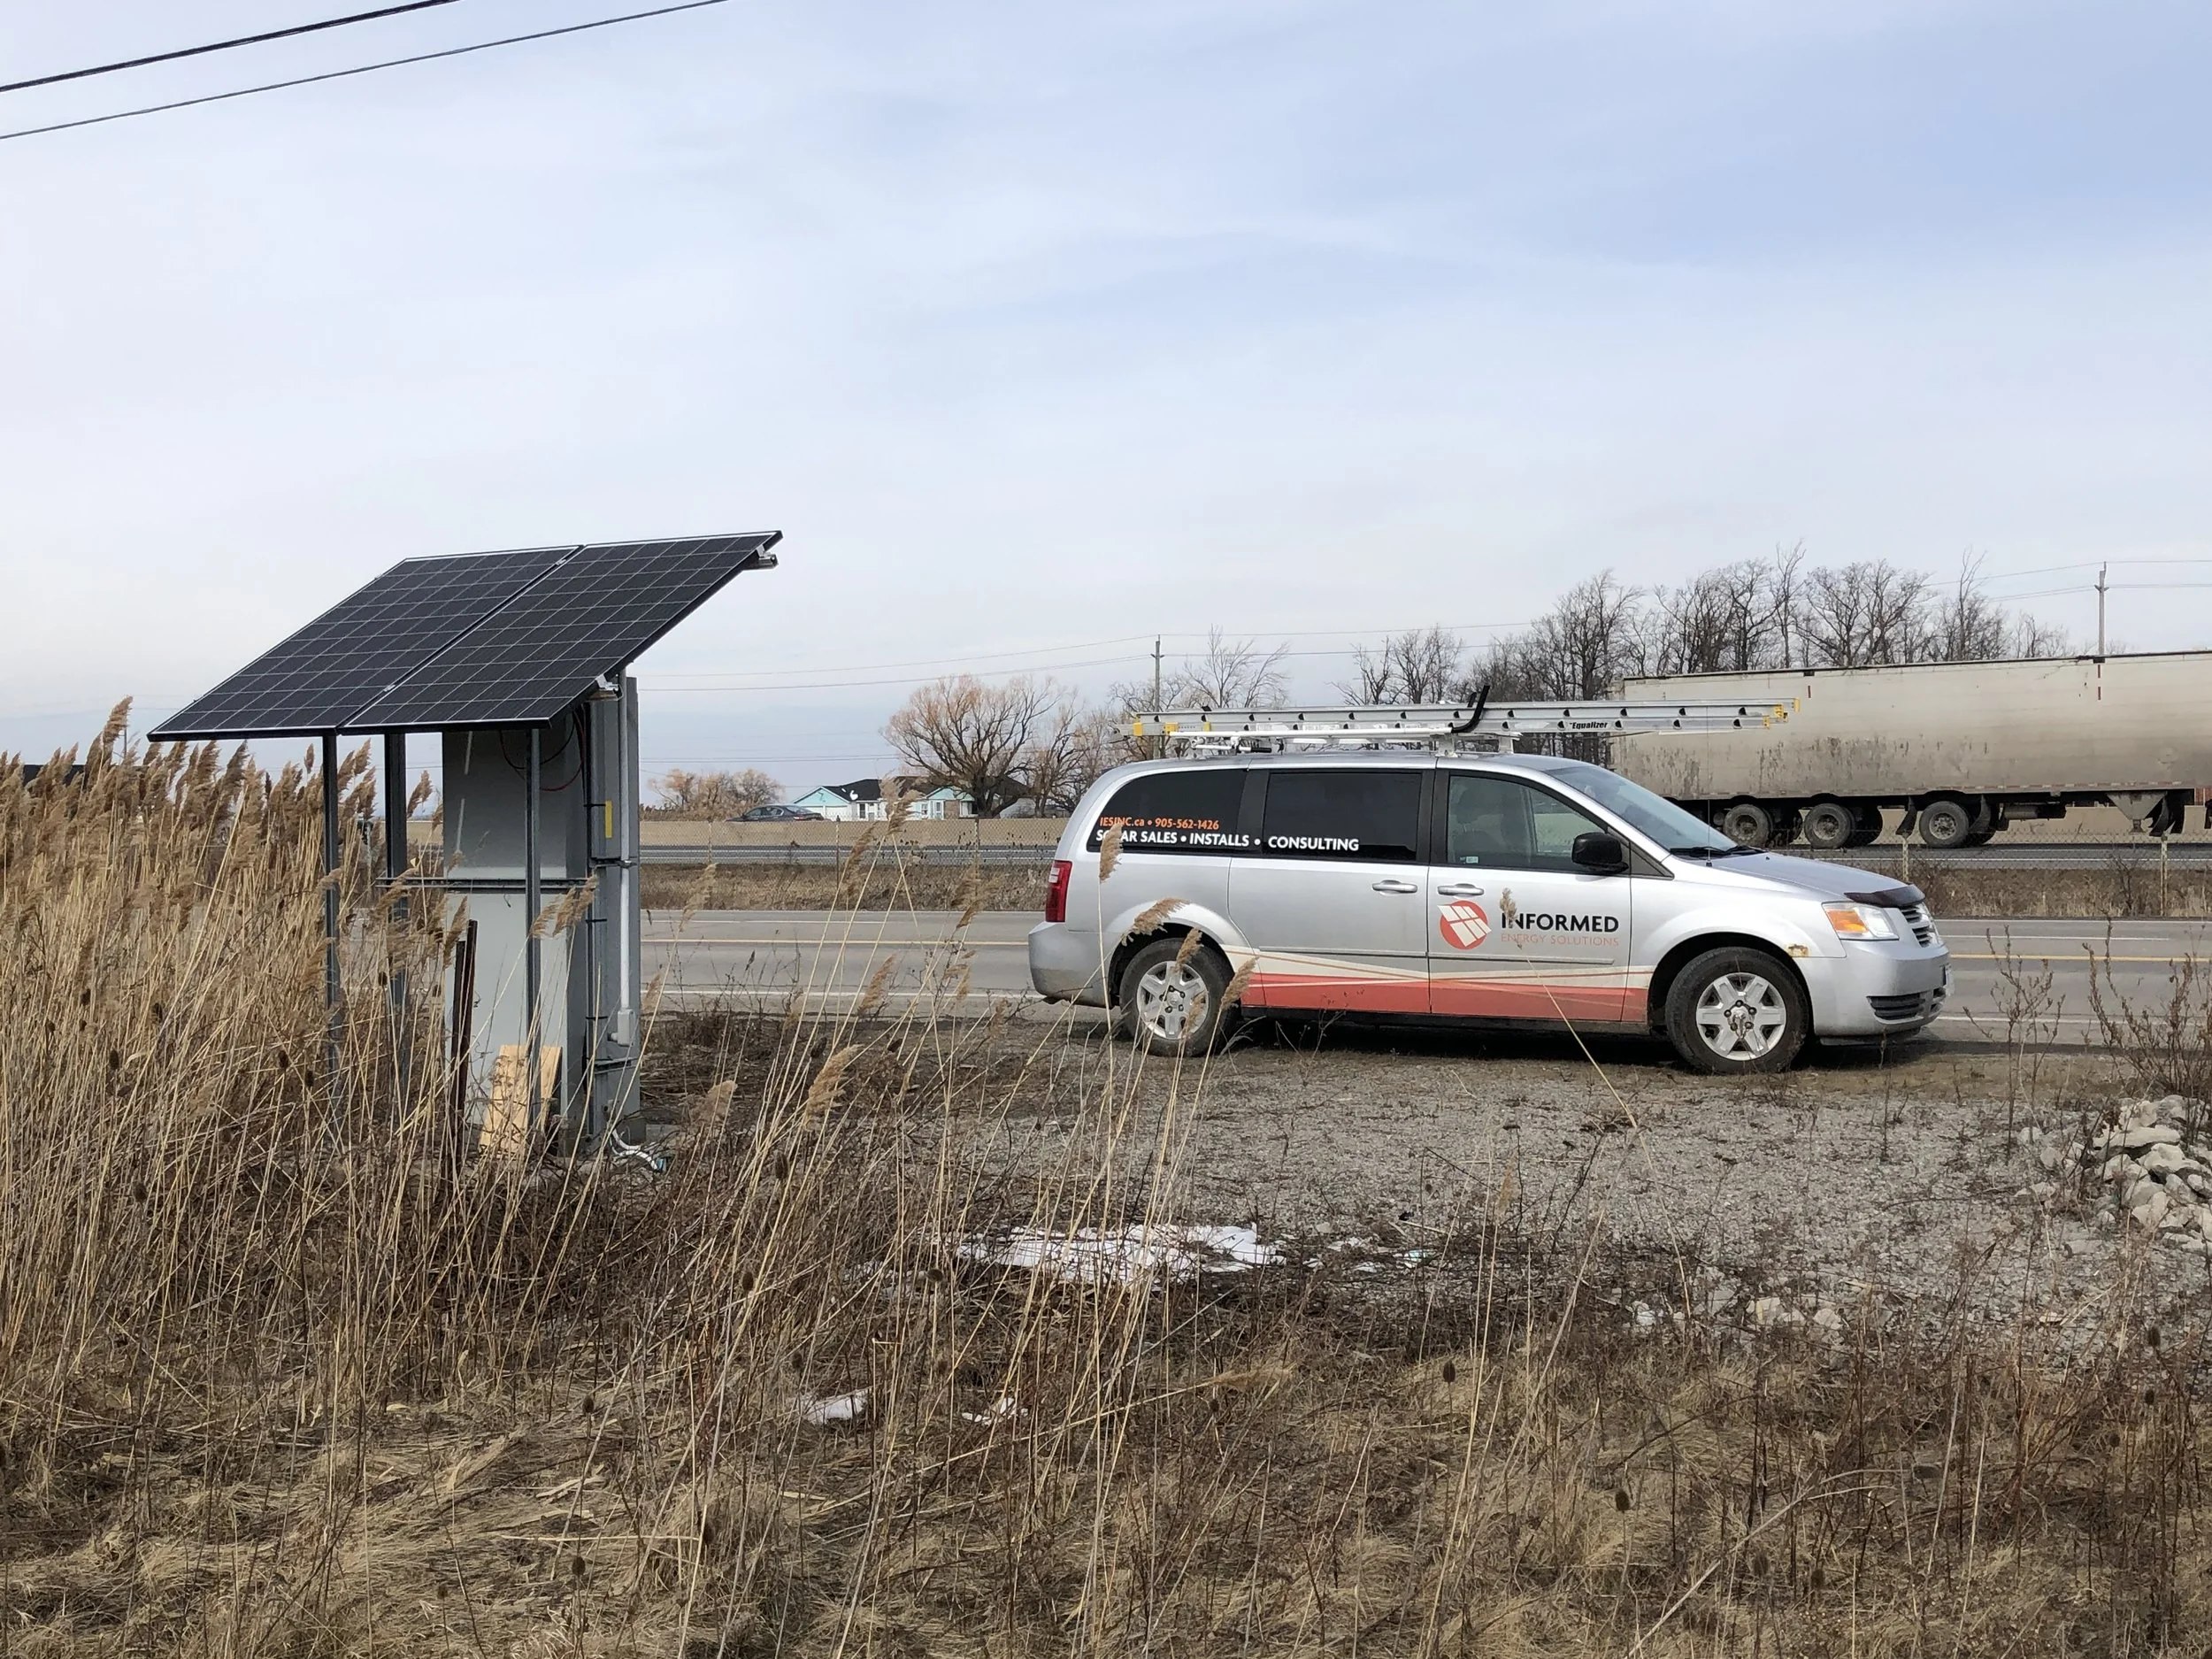
DIY solar kits are the easiest way to go solar without the complexity. Everything is pre-designed to work together, clearly labeled, and ready to install, so you can skip the research, sourcing, and guesswork. Instead of piecing together components from multiple vendors, you get one complete system plus access to real experts who can answer questions, review your setup, and guide you through installation. It’s a faster, simpler, and more reliable way to power your space with solar, knowing you’re supported every step of the way.
Solar Made Simple, With Real Human Support.

We’re here to answer your questions at every step. Before you buy, during setup, and whenever you need help along the way.